

Introduction
Resources are the building blocks of cloud applications. So, the cloud development process starts with creating the right environment to host the various parts of your application. Azure offers a wide range of development kits, including PythonSDK, .NET, CLI, and other third-party applications.
In this blog post, you will learn how to interact with the Azure environment using the Python SDK and build a web application using the Python CLI and SDK.
Connect to Azure using the Azure CLI
Azure CLI is a command-line interface provided by the Azure team that contains a set of commands used to create and manage Azure resources.
As you work with the Azure CLI, you'll experience first-hand the various tasks for resource management. In this part, you will learn how to use the Azure CLI to connect to Azure and manage your resources.
- Open the IDE. Left-click the Terminal menu and click New Terminal
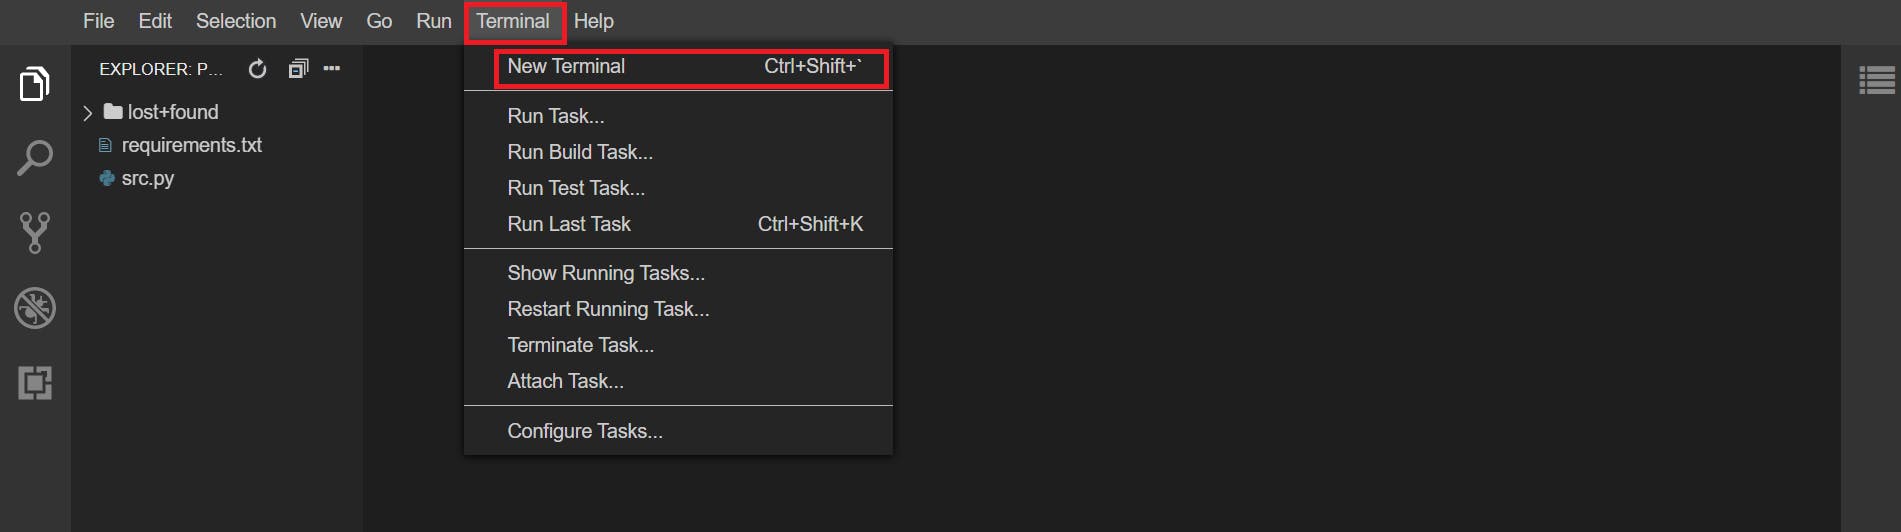
There are several ways to access Azure. In this case, you will use your username and password. As a first step, sign in to your Azure account using the Azure CLI and use the following commands to interact with Azure resources.
az login -u <username> -p <password>
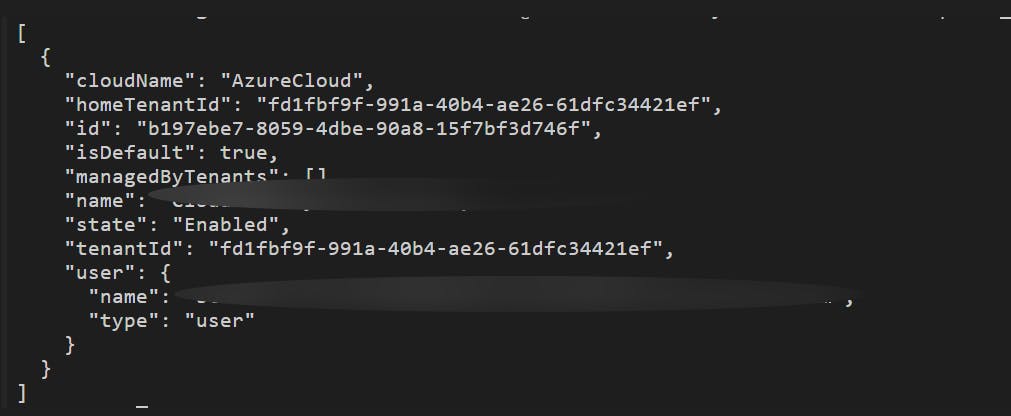
You should see the results below, along with a list of available plans and other relevant account information.
Note:
The output from the Name field is the name of the added subscription, and the output from the tenantId field identifies the Azure AD tenant that was added.
Sign in to the Azure portal using the Python SDK
When developing applications in Python, it is always a good idea to use a virtual environment for each application. The Python SDK authentication process uses the azure-identity package. You can use the multi-sign-on option in this package to login to Azure.
You will use the Python SDK to login to Azure and request a resource pool from your subscription.
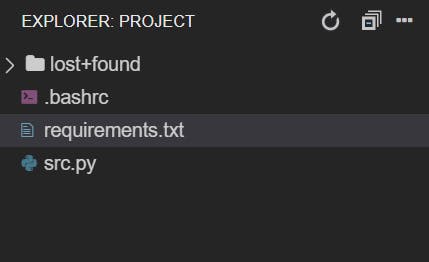
- In the IDE, go to the Explorer menu and click on the requirements.txt file.
- Paste the following into the requirements.txt file editor window:
azure-identity
azure-mgmt-resource
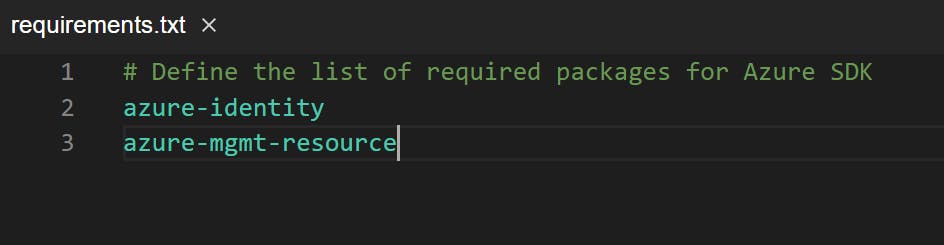
A package is required to interact with Azure. In this case, install the azure-identity package to authenticate to the Azure cloud and install the azure-mgmt-resource package to interact with the resources available in your account.
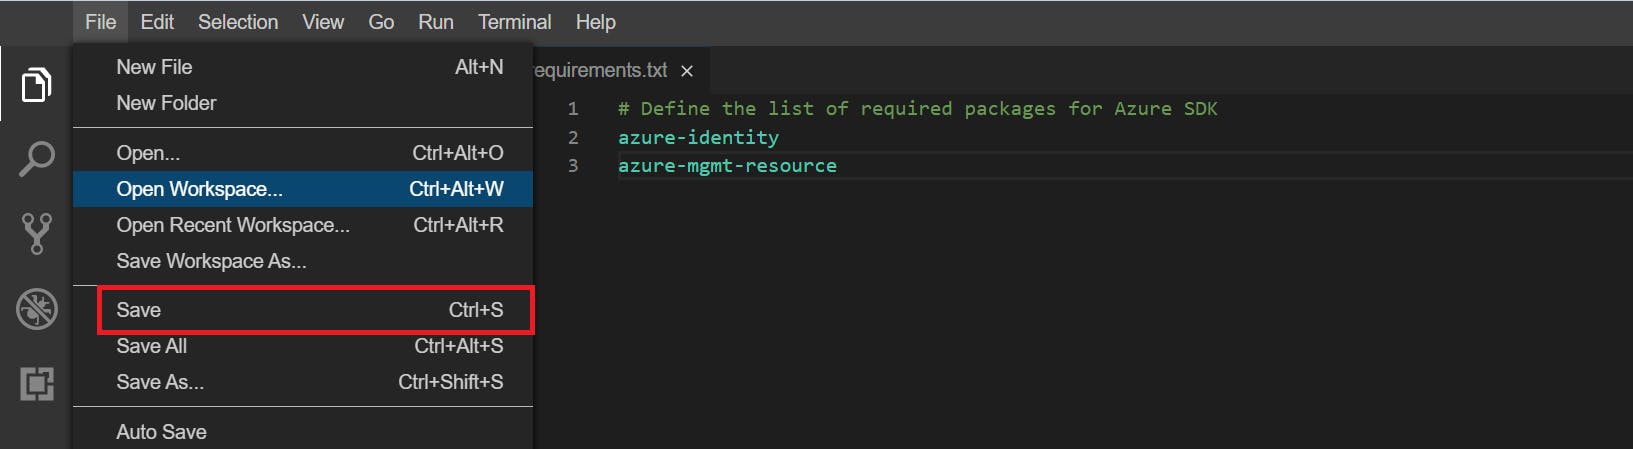
- Click File -> Save to save the contents of the file.
- Type the following command in the terminal and press Enter.
subscription_id=$(az account show --query "{subscription_id:id}" -o tsv)
resource_group=$(az group list --query "[].{resource_group:name}[0]" -o tsv)
location=$(az group list --query "[].{location:location}[0]" -o tsv)
echo "subscription_id=" $subscription_id && echo "resource_group=" $resource_group && echo "location=" $location
The terminal output is:

The above command uses the subscription_id, resource_group, and location values, and saves the output of the command.
- Double-click the
src.pyfile and paste the following code. When you're done, save the file.
import os, random
from azure.identity import AzureCliCredential
from azure.mgmt.resource import ResourceManagementClient

subscription_id = "REPLACE_WITH_SUBSCRIPTION_ID_ABOVE"
resource_group = "REPLACE_WITH_RESOURCE_GROUP_VALUE_ABOVE"
location = "REPLACE_WITH_LOCATION_VALUE_ABOVE"

credential = AzureCliCredential()

resource_client = ResourceManagementClient(credential, subscription_id)
print(f"Resource Group in the Env: {list(resource_client.resource_groups.list())[0].name}")
Replace the subscription_id, resource_group, and location values with the terminal values from the previous terminal output. Save the file after making changes.
The credentials variable is called to connect to Azure using the Azure CLI login session context. resource_client takes all the resources in the subscription and references them to print the resource pool name using a print statement.
- Type the following command in the terminal and press Enter on your keyboard.
python3 -m venv venv
source ./venv/bin/activate
pip install pylint autopep8 # dev dependencies
pip install --upgrade pip
pip install -r requirements.txt # prod dependencies
The above command prepares a virtual environment for running Python code. This is completed by updating the packages and installing the packages listed in the requirements.txt file.
- Finally, type
python src.pyand press Enter on your keyboard.
The terminal output is:

The Python code ran successfully, requesting the environment's resource pool.
Deploy Azure web applications using the Python SDK
The Azure Python SDK provides management packs for almost every resource in the service delivery catalog. Each service includes a management pack that enables remote communication with resources. You will use the Python SDK to create an Azure Application Service Plan and a web application.
- Click on requirements.txt and insert the following text at the end of the text in the file:
azure-mgmt-web
The file looks like this:
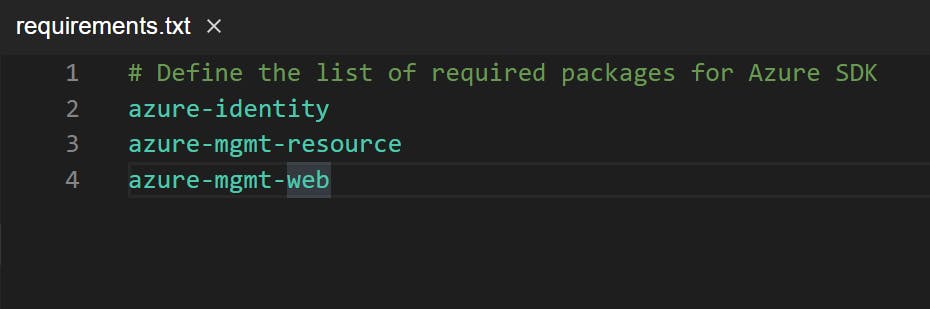
The azure-mgmt-web package is required to interact with web application resources in the Azure cloud.
- Open the
src.pyfile and add the following import statements to the beginning of the file:
from azure.mgmt.web import WebSiteManagementClient
src file looks like this:
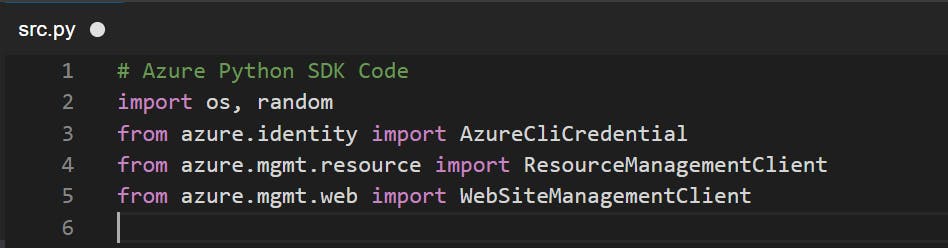
The import statement takes the website administration client library and allows it to interact with the web application.
- Add the following code to the end of your
src.pyfile.
service_plan_name = 'calab-serviceplan'
web_app_name = (f"calabwebapp-{random.randint(1,100000):05}")

# Obtain the client object
app_service_client = WebSiteManagementClient(credential, subscription_id)

# Provision the plan; Linux is the default
app_plan = app_service_client.app_service_plans.begin_create_or_update(resource_group,
    service_plan_name,
    {
        "location": location,
        "reserved": True,
        "sku" : {"name" : "S1"}
    }
)
plan_result = app_plan.result()


print(f"Provisioned App Service plan {plan_result.name}")

web_app = app_service_client.web_apps.begin_create_or_update(resource_group,
    web_app_name,
    {
        "location": location,
        "server_farm_id": plan_result.id,
        "site_config": {
            "linux_fx_version": "python|3.8"
        }
    }
)
web_app_result = web_app.result()

print(f"Provisioned web app {web_app_result.name} at {web_app_result.default_host_name}")
Use the app_service_client Python SDK to initiate an administrative connection to the client. The app_plan variable creates an application service resource and stores the results. A list of all available commands for App Service resources can be found on the AppServicePlansOperations documentation page.
Similarly, web_app creates a web application by referencing the service plan of the hosting application. A list of all commands available for App Service resources can be found on the WebAppsOperations documentation page.
- To install the web management pack, type
pip install -r requirements.txtin the terminal and press Enter.
The terminal output is:
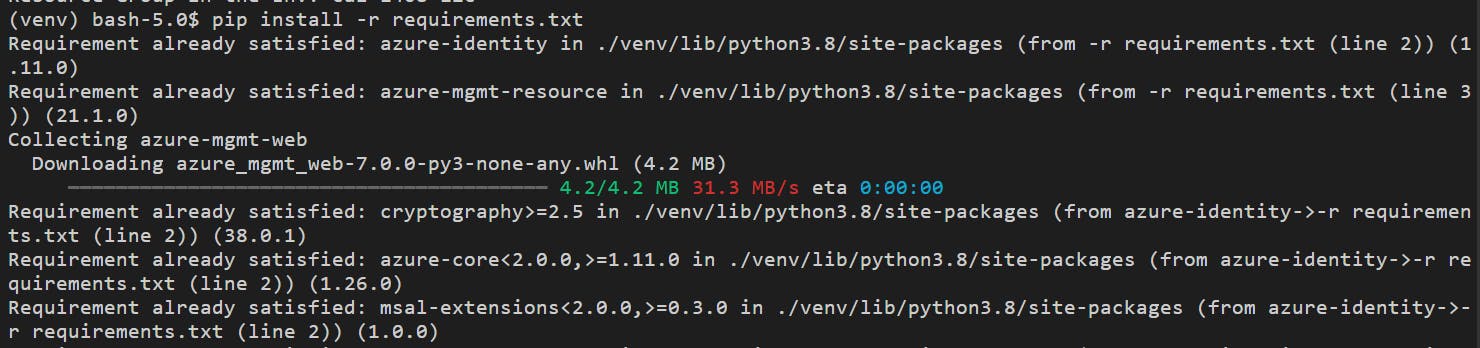
After the installation is complete, the new package is available in the virtual environment.
- Type
python src.pyand press Enter on your keyboard. The output is:

Code Execution created the application service plan and the web application. The run command prints the resource group name along with the application subscription and the name of the web application. The web application URL is also displayed for verification.
- Copy the web URL from the end of the terminal output that ends with Azurewebsites.net and paste it into a new browser tab.
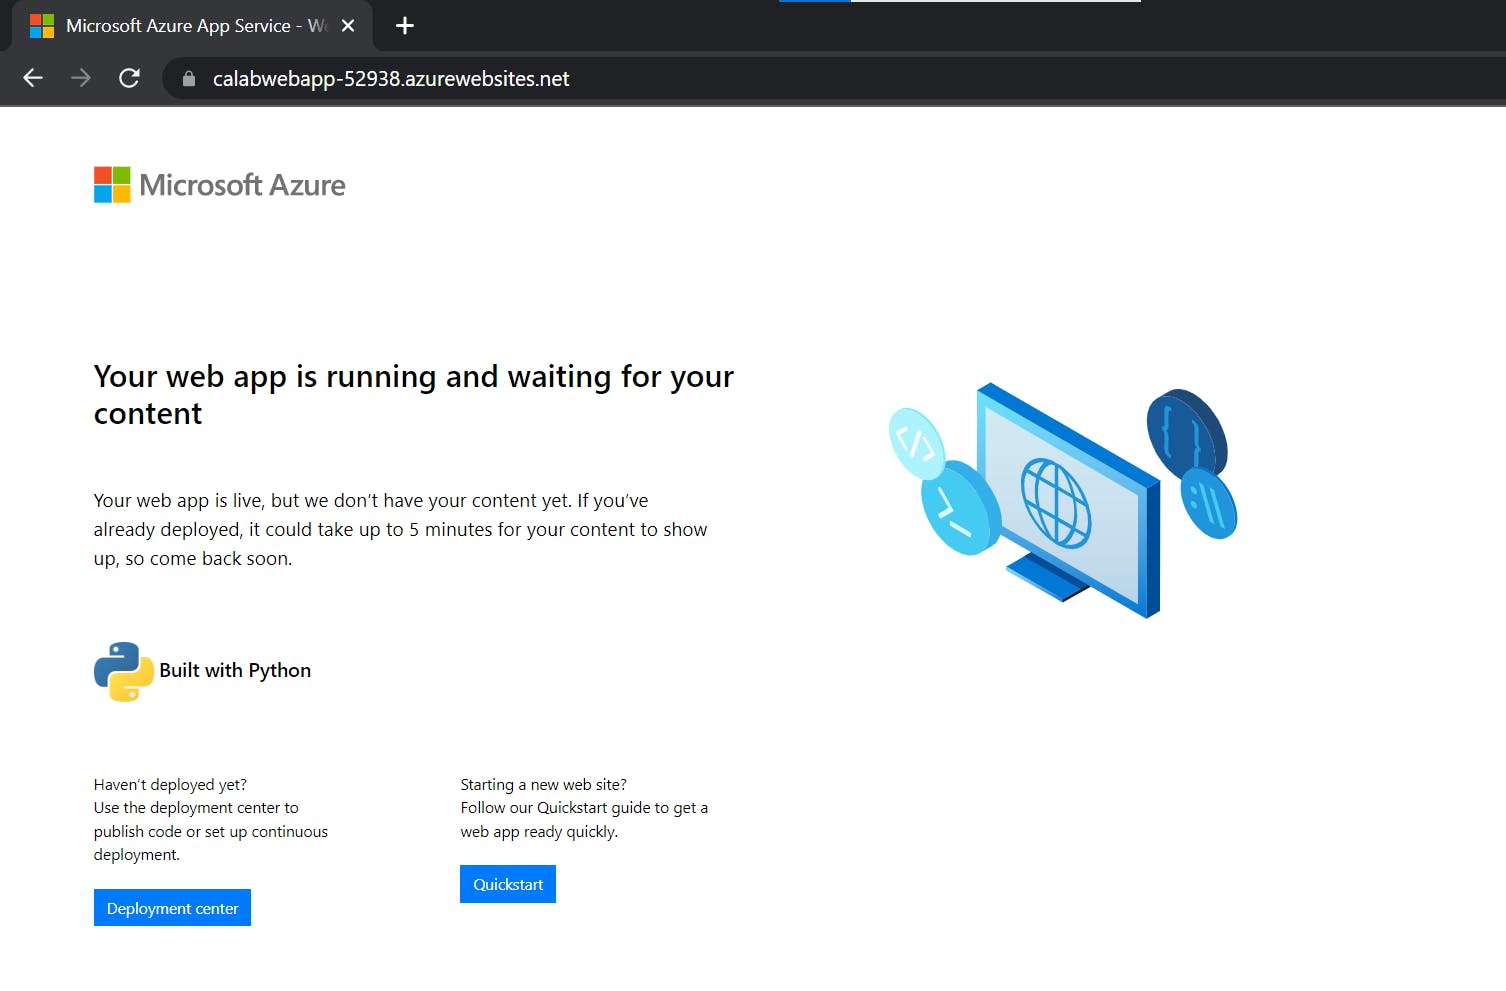
This ensures that your web application is built and deployed on Azure.
Conclusion
You have understand how to log in to the Azure portal using the Python SDK and deploy a web application using the Python SDK for Azure.
Gratitude for perusing my article till the end. I hope you realized something unique today. If you enjoyed this article then please share it with your buddies and if you have suggestions or thoughts to share with me then please write in the comment box.